⚠️ This post is out of date. Check out our updated review of file uploaders for 2022!
GravityView lets you display all kinds of data collected with Gravity Forms. In this article, we will look at the different Gravity Forms image uploaders and the features they offer, including image upload resizing and image upload previewing.
Reading not your thing? Check out the video review below 👇
Best Gravity Forms Image Upload Plugins
First, let’s address a recent change in the landscape for image uploaders: a favorite Gravity Forms image uploader, Slim Image Cropper, is no longer being developed.
This plugin offered great features like image upload resize, image upload preview, and image upload cropping. With this plugin now off the market, there are a couple of other options to consider.
Let’s take a look at them in more detail. The primary contenders to become your new favorite Gravity Forms image uploader are:
About the Gravity Forms Image Uploader Plugin Options
Let’s take a look at each of these plugins in a little more details, shall we?
Image Hopper ?
This plugin is a newcomer to the market. It was designed specifically as a replacement for Slim Image Cropper. Image Hopper was built by the creators of Gravity PDF, a Gravity Forms Certified Developer. The plugin currently supports image upload resizing and image upload preview.
In the near future, it will also offer a powerful image editor, including an image upload cropper. This addition is being built with the Doka Image Editor, developed by PQINA, the original developer of Slim Image Cropper.
Gravity Forms Media Library ?
This plugin is part of the Gravity Perks catalog from Gravity Wiz, also a Gravity Forms Certified Developer. It has been around for a while but perhaps overlooked for its ability to resize image uploads.
It attaches to the standard Gravity Forms File Upload field and adds the image to the media library, an action not normally performed by Gravity Forms with the standard File Upload field.
Let’s take a look at how each Gravity Forms image upload option performs the following features:
Front End Comparison ?
Here’s what it looks like when you’re uploading files on the front end:
GF Media Library:

Image Hopper:

Installing Image Hopper vs. GF Media Library
Let’s take a look at how to install different Gravity Forms image upload plugins, starting with…
Installing GF Media Library
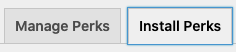
To use GF Media Library, install the perk on your site by going to the Forms > Perks menu in your admin bar.

From there, click on the Install Perks Tab.
Next, find the GP Media Library perk and click Install Perk.
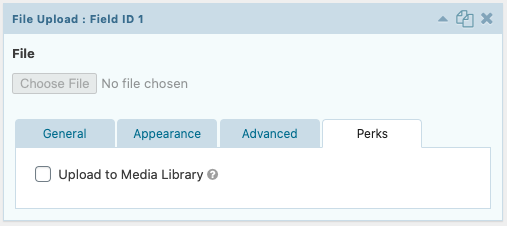
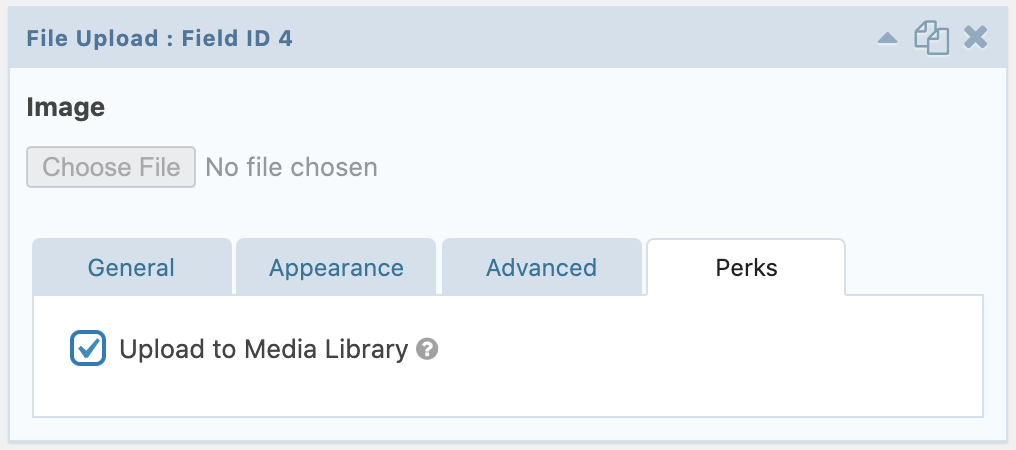
Now when you add a File Upload field to your form you’ll see an additional tab called Perks, which includes a checkbox to “Upload to Media Library”.
Installing Image Hopper
Install Image Hopper as you would any new plugin: download it from your account after purchase then upload it to your WordPress Plugins page.
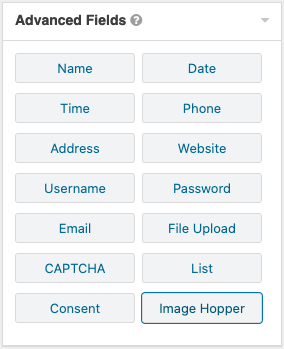
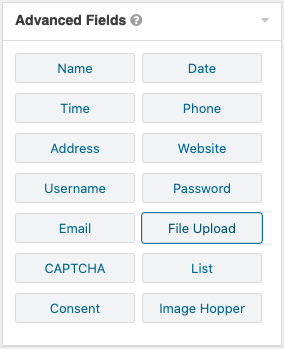
Once it is installed, you will see a new option in the Advanced Fields of your form builder called Image Hopper.
Comparing Image Upload Resize Functionality
Now that you know how to install both plugins, let’s compare the functionality and capabilities of each.
Resizing Images Using GF Media Library
To use GF Media Library, you simply add a standard File Upload field to your form, then check the box in the Perks tab labeled “Upload to Media Library”.
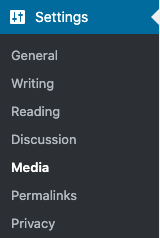
GF Media Library uploads your image to the Media Library of your site. By default, the Media Library creates a few different sizes of each image uploaded. To see what sizes your site uses, hover over Settings and click Media in your WordPress Admin Menu.
There you will see the various dimensions your site uses for your image upload resize.
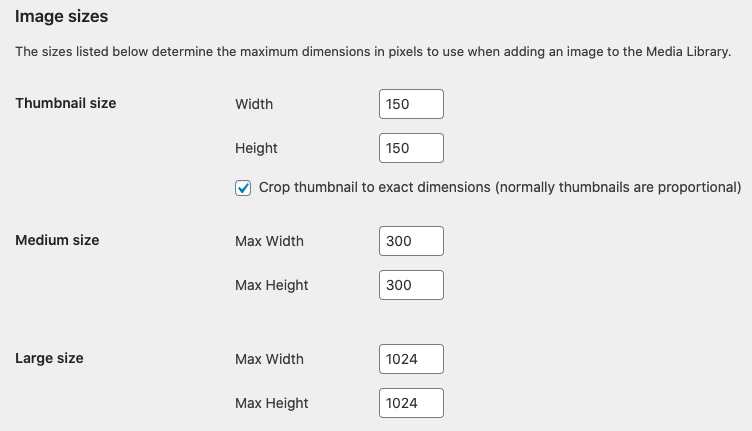
You can modify these sizes to meet your needs and add additional sizes with a little bit of code or a plugin.
When you are ready to display these on your site, you’ll be able to call on whichever of these preset sizes that meets your needs (see How to Display an Uploaded Image in Gravity Forms below for more information).
Resizing Images Using Image Hopper
To use Image Hopper, add the Image Hopper field to your form from the Advanced Fields section. There you will see an option to Downscale Images.
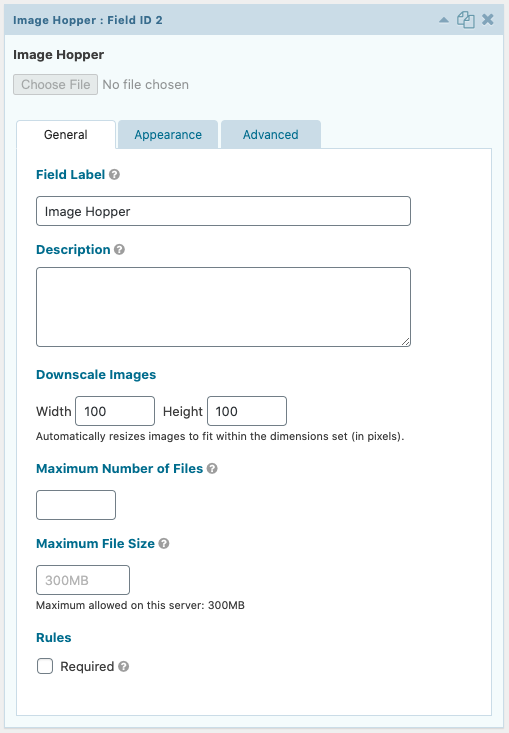
Note that this will not crop your images to your exact dimensions as you can do with the Thumbnails size in the Media Library. Instead, Image Hopper maintains the ratio of your image, making sure that it does not exceed the dimensions you set in the Downscale Images field.
All of the images uploaded using this field will conform to the same size limits, however, you can add multiple Image Hopper fields to your form with different resize dimensions if you need different sizes.
The images uploaded using this field are not saved to the Media Library but are accessible to display on your site using GravityView.
Gravity Forms Image Upload Preview Functionality
When uploading new images, it’s always important to preview them first. Image Hopper is the only plugin out of the two that support this functionality, so let’s take a deeper look and see how it works.
Image Hopper offers a clean-looking image upload preview. It includes a drag and drop interface. Once the image is dropped or selected, the preview shows a percentage as the file is uploaded. When the upload is complete, the top right corner tells you so.
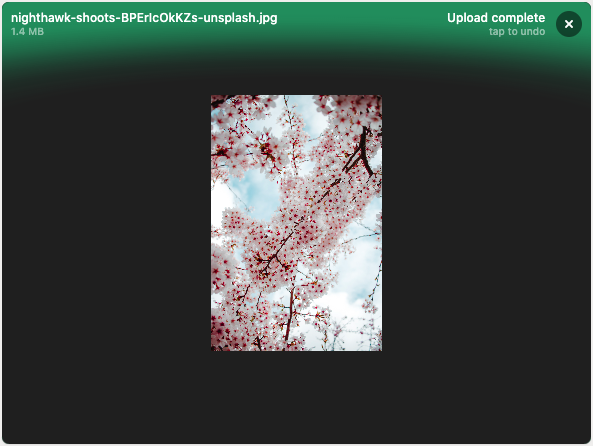
The x in the top right corner of the box provides a user friendly way to remove the image if your user changes their mind before submitting.
Gravity Forms Image Cropper Functionality
As mentioned above, this feature will be coming soon to Image Hopper. I would expect it to behave similarly to Slim Image Cropper since it will be integrating with the Doka Image Editor, developed by PQINA, the original developer of Slim Image Cropper. Keep an eye on Image Hopper’s update page to stay up to date.
Uploading Images to the Media Library
Using GF Media Library, you can connect the standard File Upload field in Gravity Forms to the Media Library. Once the Perk is installed (as described above), just check the box on the new Perks tab of the File Upload field.
Once the form is submitted the image will be available in the Media Library.
How to Display an Uploaded Image in Gravity Forms
The best way to display your images on the front end is by using GravityView. The GravityView plugin allows you to create “Views” that allow you to display your form entries on the front end of your website.
Each of these plugins works a little differently to display an uploaded image in Gravity Forms using GravityView.
Displaying Images Uploaded Using GF Media Library
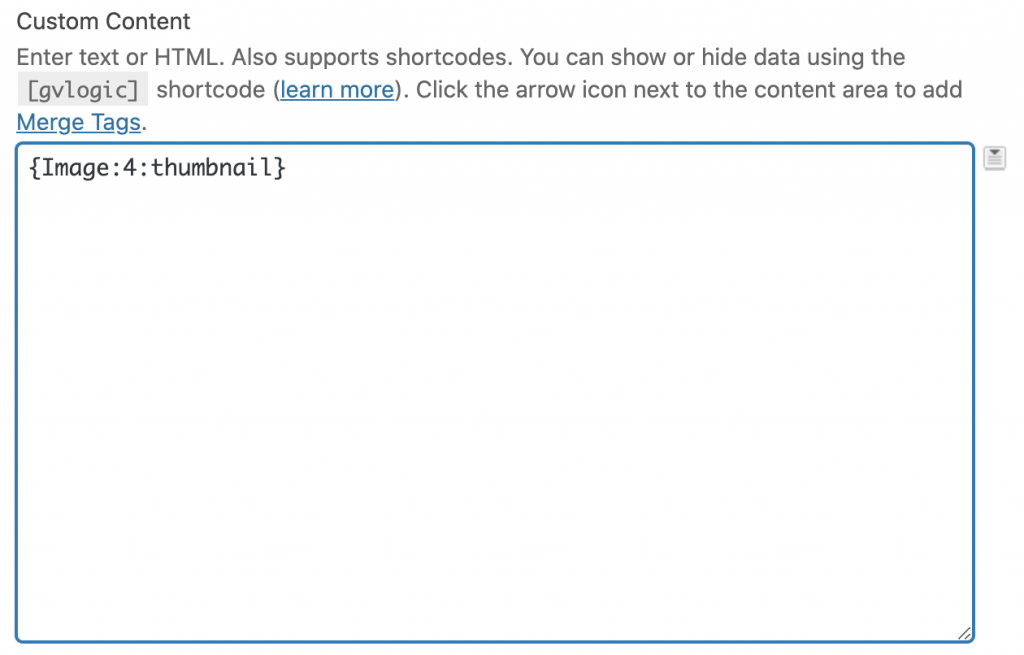
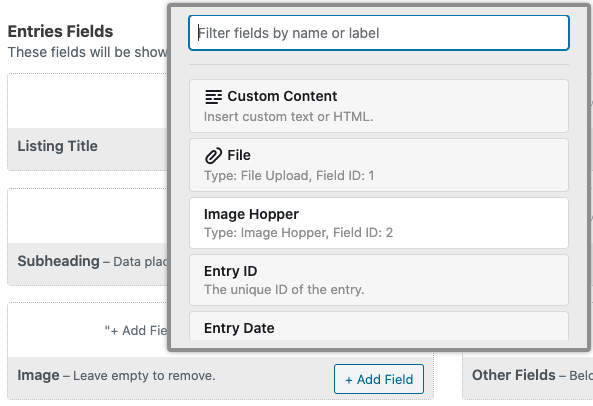
To take advantage of the resized images with GF Media Library, you’ll add a Custom Content field to your View. Use the merge tag selector to choose the merge tag for your image upload field.
Once the merge tag is inserted in your field, you can add the merge tag modifier of the size you would like to display. Here are a few options using the merge tag {Image:4} – replace this with your merge tag:
{Image:4:thumbnail}{Image:4:medium}{Image:4:large}
You can identify what sizes these terms equate to in your Settings > Media in the Admin Menu as described above.
This is what it will look like in your Edit View screen:
Displaying Image Hopper images on the Front End
Using Image Hopper to display an uploaded image in Gravity Forms, you’ll simply choose the Image Hopper field from your form when creating your View.
Once added, you can click the gear icon and adjust the settings as needed.
Gravity Forms Image Upload Plugins: Summing Up
Depending on your needs, there are a couple of good alternatives to Slim Image Cropper available for Gravity Forms.
Image Hopper was designed as a replacement for Slim Image Cropper. It currently offers image upload resize and image upload preview features. Coming soon is the powerful image editor, which will include image upload cropping.
Gravity Forms Media Library attaches to the standard file upload field in Gravity Forms and makes use of the resizing feature of the WordPress Media Library. Each image submitted will be available in multiple sizes, which can be tweaked in your WordPress Settings to meet your needs.
And finally, if you want to display your images on the front end, you can use GravityView – our flagship add-on for gravity Forms that let’s your display form entries on your website in a variety of layouts.
To learn more about Gravity Forms, read How to Use Gravity Forms: The Ultimate Guide